How To Apply Lipstick – A Step By Step Guide
Even though lipstick is a commonly used makeup product, there are still a few people who do not know the right way to apply it. Here, some people might say, what is there to learn? It’s just lipstick, not a drawing brush! But believe us, ladies! There are a lot of things to learn about lipstick application, i.e., how to apply it, how to make lipstick last longer or transfer-proof, common lipstick mistakes to avoid, and more!
In this guide, we will start by answering one of the most common makeup questions: ‘How to apply lipstick?’ Stay tuned and learn the hacks to be pout-pro!
How To Apply Lipstick Perfectly?
Prep Your Lips – Exfoliate and moisturize for a smooth base.
Prepare The Base – Apply foundation or concealer for even coverage.
Line Your Lips – Define your lips with a lip liner.
Apply Your Lipstick, Blot It, & Reapply – Layer your lipstick for long-lasting color.
Set Your Lip Makeup – Use translucent powder to lock in your lip color.
No makeup look is complete without colouring the pout. If you are often left wondering about how to apply lipstick perfectly without feathering or getting it on your teeth, we have got you covered!
Step-By-Step Guide On How To Apply Lipstick
Follow these steps to apply lipstick, and let your lips do the talking!
Step 1: Prep Your Lips
When learning how to apply lipstick correctly, preparing your lips should always be the first step. This step helps keep your lips soft and nourished and prevents them from cracking or chapping.
Exfoliate your lips with lip scrubs or a damp toothbrush or use sugar for scrubbing your lips. The skin on your lips is thin and delicate; hence scrub very gently. After exfoliation, hydrate and moisturize your lips with a nourishing lip balm.
Step 2: Prepare The Base
Once you have prepped your lips, move to apply a small amount of any lightweight concealer or foundation (that matches your skin tone) all over your lips. This step is optional but works great if your lips have any hyperpigmentation or uneven coloring.
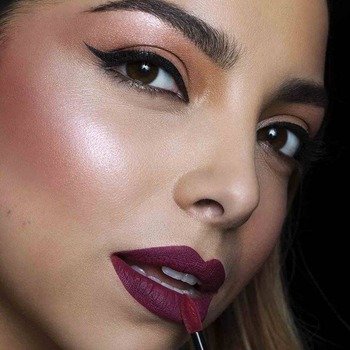
Step 3: Line Your Lips
How to apply lipstick perfectly, you ask? Outline your lips using a lip liner. It gives your lips a clear shape and definition and helps you apply the lipstick with more precision. (Read our guide on ‘How to get plumper lips’ and learn all the tricks of overlining and underlining lips). Trace over your natural lip line with either of these 3 types of lip liners:
• A clear lip liner that has no colour, great for nude lipstick shades
• A lip liner that closely matches with the colour of your lips
• A lip liner that matches the colour of your lipstick – most commonly used
Pro tip:
Run out of lip liners? Don’t worry! You can still run the pout show with your Lip Crayons or the tip of liquid lipsticks. Simply use the pointed tip to line your lips, and you’re done!
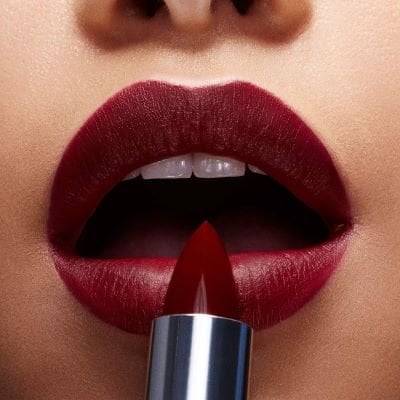
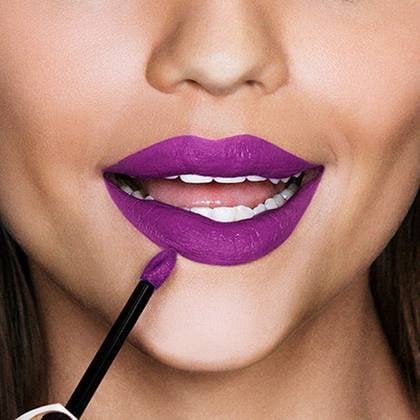
Step 4: Apply Your Lipstick, Blot It, & Reapply
Here’s what you have been waiting for: how to apply lipstick like a pro! Once you are done applying the first coat of lipstick, blot your lipstick (to make it slightly transfer-proof) with a soft single-ply tissue. Fold this tissue in half, hold it in between your lips, and press down. This takes off the extra product and oil from your lips. Next, apply a second coat of lipstick to get a high color intensity and lasting result.
Pro tip:
For a long-lasting lipstick result, choose liquid matte lipsticks or creamy matte lipsticks. Matte lipstick formulas resist smudge, transfer, and last long, perfect for all-day wear.
Step 5: Set Your Lip Makeup
The tutorial on how to apply lipstick isn’t over yet! With a very light hand, use a fluffy brush or clean fingers to pat some setting powder (or a matching eyeshadow powder!) on your lips. Remember to use very little powder, as you do not want the extra powder to pile up on your lips.
And there you have it, a simple step-by-step guide that teaches you how to apply lipstick perfectly! Now, let us enlighten you on common lipstick mistakes and tips to hatch the perfect pout.
And there you have it, a simple step-by-step guide that teaches you how to apply lipstick perfectly! Now, let us enlighten you on common lipstick mistakes and tips to hatch the perfect pout.
Common Lipstick Mistakes to Avoid & Tips For a Perfect Lip Look
Here, we have compiled a list of common lip makeup mistakes that you can easily avoid.
Choosing the wrong lipstick and liner shade
A lipstick shade can make or break your overall makeup look. The same goes for lip liner. Pick a lip shade that complements your skin tone and elevates your attire. Choose a lip liner shade that is close to your lipstick shade.
Applying too much product
Avoid going over your lips with multiple swipes of lipstick, as this could cause the product to build up and make your lips look patchy and cakey. Too much product on the lips could also cause the lipstick to crack or bleed outside the lips.
Not prepping and setting your lips
Dried lips are a bold lipstick’s worst nightmare! Lipstick will start to cling to your dry patches, peel off, or seep through the cracked lines. Hence, exfoliation and moisturization with a lip balm are MUST! Setting your lip is as crucial as lip prep. To get a long-lasting lip makeup result, set your lips with translucent powder.
Skipping clean up
Lipstick makeup is all about precision (we are not talking about creating harsh lines, though!). Hence, to flaunt a defined pout, you must clean up the edges after applying lipstick. Unload a little amount of concealer on a brush and glide it following the contours of your lips.
We hope this guide on how to apply lipstick will help you get the perfect pout. So, what are you waiting for? Be at the top of the lip makeup game with our tips and tricks.
If you are a beginner, it could be intimidating to see many different shades of lipstick and not know how they would look on you. Take out the guesswork from lipstick shopping and give the Maybelline Virtual Try-On tool a try. You can also experiment virtually with various face and eye makeup products before selecting the right one for you.
Head over to the Maybelline website and shop our amazing selection of rich and luxurious lipsticks available in a variety of different textures and shades. There is one lipstick out there for everyone and every mood! Check out the Different Types of Lipsticks to find what type of lipstick works best for you! Don’t forget to browse through our lip makeup tips to get updates on new lip makeup trends, ideas, and inspos.
Complete your beauty haul with our curated makeup products name list featuring must-haves like creamy lipsticks, hydrating primers, volumizing mascaras, and dewy foundations. Whether you're going for a bold glam or everyday natural look, these essentials will elevate your makeup game. Don’t miss out on the perfect combo to complement your chosen lip shade!