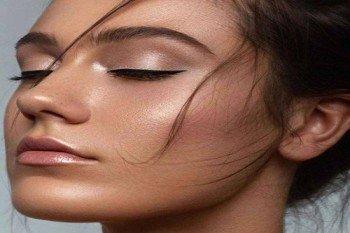
How to Bake Your Makeup with Setting Powder?

Baking a cake or baking a face – both test your patience. But the results are worth it! The trending makeup technique, ‘baking’, demands a few minutes from your busy schedule, but trust us, the flawless, airbrushed finish is totally worth the wait. Wondering how to bake makeup like a pro?
We have got you covered. Here’s your ultimate guide to learning what is baking in makeup and how to do face baking with setting powder. Treat this as your quick baking makeup tutorial to learn the secrets of getting that long-lasting, perfect face that will make heads turn.
How To Bake Makeup?
- Prep & Prime: Skincare followed by primer.
- Foundation & Concealer: Apply liquid foundation, then concealer to highlight areas.
- Apply Setting Powder: Pat a generous layer of setting powder onto concealed areas.
- Bake: Let the powder sit for 5-10 minutes to set.
- Dust & Blend: Brush off excess powder and blend thoroughly.
- Set Makeup: Finish with blush, highlighter, and setting spray.
What is Baking in Makeup?
So, what is baking in makeup anyway? It's simply the process of applying a thick layer of setting powder over your foundation and concealer and letting it sit for 5 – 10 minutes to set the makeup. While you let the thick cloud of face powder work its magic, the heat from your skin melts and bakes the foundation and concealer into your skin while the powder ensures all the excess oil is absorbed. Once you are done baking with setting powder, dust the excess powder to reveal a crease-free, matte, and long-lasting finish.
While you can use a wide variety of face powders like pressed powder to bake makeup, it may not deliver the desired result. A loose powder, especially loose translucent powder or banana powder, is best suited for the baking technique and achieving a matte, airbrushed finish. Now that you know the baking makeup meaning, let’s start with the baking makeup tutorial.
How to Bake Makeup?
Be a makeup baking expert with this step-by-step guide on how to bake makeup with setting powder.
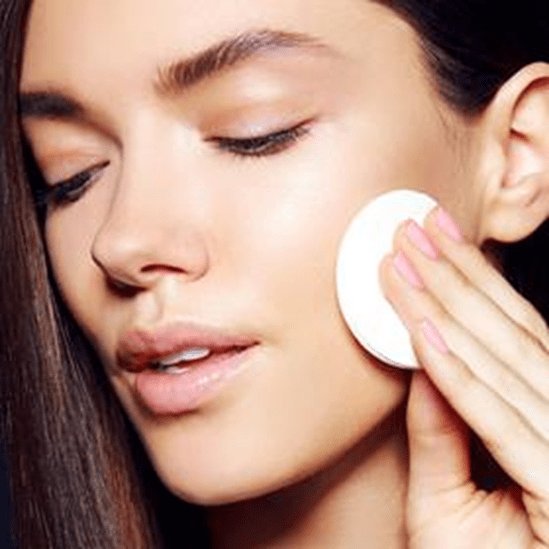
Step 1: Prep and Prime!
Start with your regular skincare regimen: wash, tone, and moisturize. Next, use a dewy or matte primer to create an even, smooth surface, blur pores, and ensure long-lasting makeup that stays from dawn to dusk.
Read our guide on the Different Types of Primer Makeup and choose based on your skin type and preference.
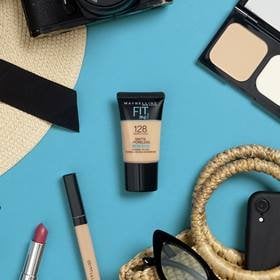
Step 2: Foundation and Concealer are Key
Apply your go-to foundation as usual. (Choose liquid foundation over powder foundation) Follow with a liquid or creamy concealer and place it underneath your eyes, on your forehead, along the bridge of your nose, and on your chin – wherever you'd like to accentuate. Remember, baking with setting powder is all about fading away imperfections from those areas! For best results, blend with fingers or brush thoroughly for even and seamless blending.
Read our guide on How to Apply Foundation and How to Apply Concealer to master the art of applying base makeup.
Step 3: Apply Setting Powder
This is where the magic happens! Take a makeup sponge or fluffy brush and dip it into setting powder. Scoop up a generous amount of translucent or slightly colored setting powder and pat (don't swipe) the powder heavily onto the areas you covered with concealer. We're talking a visible layer here. It should look like a bag of white cloud is hanging from your eye contour area. Your focus areas should be;
- Under eye area.
- Forehead
- Nasolabial folds, commonly known as smile lines or laugh lines
- Chin, basically, areas that tend to crease easily.
Step 4: Bake it for 5 – 10 Minutes
Let the powder ‘bake’ for 5-10 minutes. This wait time is crucial when baking with settingpowder. While you wait, the heat from your skin will allow the powder to melt the foundation and concealer underneath, setting everything in place. Sip from a cup of coffee, have juice, take a quick nap (avoid making any major facial expression), and enjoy this little ‘me-time’. Or you can finish your eye makeup or lip makeup during this time! The choice is yours!
Step 5: Dust Away the Excess & Blend
Once the makeup baking is done, grab a big, fluffy brush to lightly brush off the extra powder. Make sure you're thorough. You don't want to leave tell-tale signs of powder baking marks on your face. Once the excess powder is gone, blend well to unveil an airbrush finish that looks natural.
Step 6: Set it and Forget it!
Apply blush, highlighter, and complete the rest of your face makeup. Here’s a quick setting powder hack for you: If you have accidentally applied too much blush or bronzer, apply a light layer of a translucent powder over it to tone down the excess colour. Finally, top with a setting spray to lock everything in and dissolve the last powder into your skin.
While you learn how to bake makeup, let us tell you more secrets, aka tips, for perfect baking.
Additional Tips on How to Bake Makeup
Here are some expert-approved tips for applying face powder and baking;
Pick the Right Powder Formula
Finely milled translucent powders help avoid developing white cast on face and suit all skin tones. However, tinted powders add a touch of color correction. Experiment with different finishes to find out what works best for you.
Hydrate, Hydrate, Hydrate
A heavy layer of powder can make your under-eye area dehydrated. Use under-eye serums or creams while prepping your skin.
Don't Overdo It
While baking with setting powder, don’t wait beyond 10 minutes. The longer you wait, the drier or cakier your skin tends to appear. Start with 5 minutes of baking and build up as you become more comfortable.
Consider Your Skin Type
If you have dry skin, make sure to moisturise well before baking with setting powder. Also, try to use a minimal amount of powder to avoid excessive dryness.
Touch-up
When done correctly, the baking stays throughout the day. However, for additional touch-ups, use compact powder.
Keep Practicing
Experiment with baking timing, amount of powder you use, etc., to get your desired finish.
Learning how to bake makeup can seem overwhelming at first, but with a small amount of practice, you will be able to sport a perfect, lasting, airbrushed look in no time!
Need assistance with makeup products, shades, and finish? Utilise Maybelline Virtual Try-on tool to experiment with different makeup products in real time without any commitment. You can also try the Foundation Finder tool to find out your perfect foundation shade match in no time.