How To Use A Makeup Sponge Correctly
Whether you are Team Brushes or Team Makeup Sponge, there is no denying that with the right beauty blender sponge, you can give your skin a flawless finish that almost looks airbrushed. And if you have never used this makeup applicator before, you’d be surprised to learn that there are many ways to use this humble foundation sponge. Keep reading to learn more about the different types of makeup blending sponges and how to get the most out of them –
• Types Of Makeup Sponges
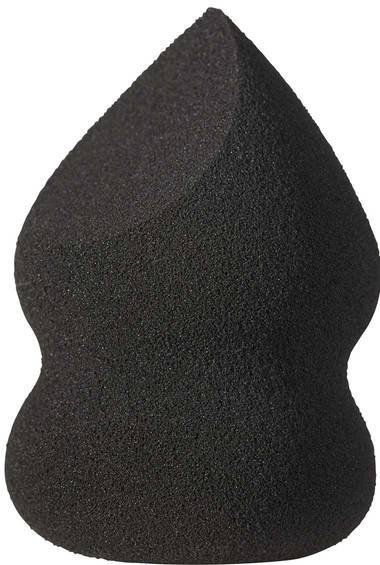
o Beauty blender sponge – This versatile makeup blender can be used to apply it all – from liquid foundations and concealers to setting powders and highlighters. The tear drop shape of this makeup sponge makes it easy to reach every nook and cranny of your face. The rounder edge of the foundation sponge can be used to apply product to the larger areas.
o Silicone makeup blender - This makeup applicator has a flat, silicone surface that you can use to apply liquid and cream products only. The smooth, silicon texture of the makeup blender does not absorb any product – so there is zero product wastage!
o Makeup remover sponge – A new entry to the world of beauty sponges, makeup remover sponges are reusable makeup tools that you can use at the end of the day to remove your makeup. The unique fibres on these round makeup sponges help you gently clean makeup and oil from your face with the help of a facial cleanser and water.
• Makeup Sponge Tips and Tricks
o Wet or Dry - When using a beauty blender with creams or liquids, it is important to dampen the blending sponge before adding the product to it. Simply run the beauty blender sponge under tap water till it almost doubles in size, and then squeeze out the excess water to get your makeup blender ready for application. If you are using the foundation sponge for applying powder, you can use it damp or dry depending on the type of coverage and finish you desire.
o Prep your sponge – Just like you use a primer on your face before applying your makeup products, prepping your makeup sponge will create a protective film on the makeup applicator, preventing excess makeup from getting absorbed by the sponge. A lesser-known makeup hack is to apply a few dots of your face primer on the sponge before going in with your foundation or concealer. You can also add a few coats of your makeup setting spray to dampen the beauty blender while also increasing the longevity of your foundation.
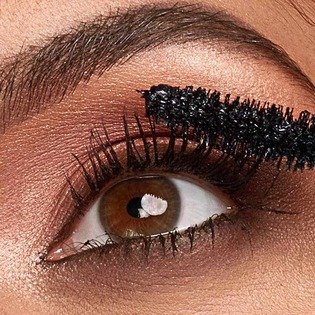
o Dab, Don’t Drag – How you use the foundation sponge greatly affects the final output of your face makeup. Rubbing or dragging the makeup blending sponge across your face can result in a patchy and streaky application. Instead, bounce the beauty blender on your skin in short, small movements (known as stippling) for a seamless, airbrushed finish. The small patting motions deposit the product on to your face and also blend it into your skin at the same time, giving you an even and smooth coverage.
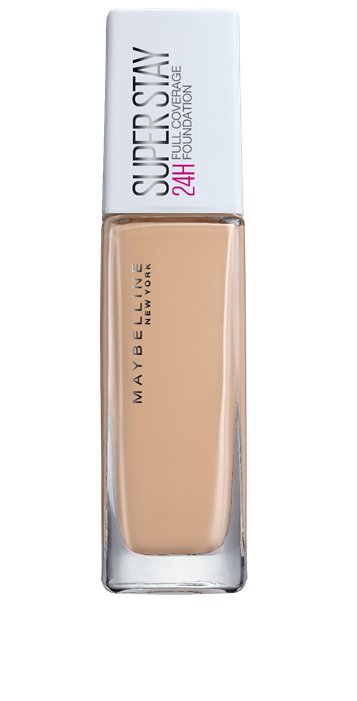
o Get Natural Coverage – Foundation sponges are perfect for when you want a natural looking no-makeup makeup look. Use a concealer shade that matches your skin tone perfectly to cover any dark spots, blemishes, and undereye circles and go over it with the beauty sponge to get a light to medium coverage that looks like skin. Use the Maybelline Foundation Finder tool to find the exact concealer shade match so you can get away with just using concealer without any foundation.
o Get Rosy Cheeks – Blend your cream or powder blush with a makeup blender to add a natural-looking flush to your complexion. This makeup applicator makes it easy to control how much product you apply, leaving less room for error. Use the Maybelline Virtual Try On tool to find a blush shade that complements your skin tone perfectly, so you can rock a sun-kissed look even on your no-makeup makeup days. The Virtual Try On tool lets you experiment with the different Maybelline face, eye, and lip makeup products with no commitment and from the comfort of your own home.
o Sculpt Your Face – Chiseled cheekbones, sharp jawline, sculpted nose – you can achieve all of this with your blending sponge. Use a cream contour to draw contour lines as usual and then use the beauty blender to blend the product into your skin till there are no harsh lines left.
o Bake Your Makeup – Prevent undereye creasing, get a sharper cheek contour, and catch eyeshadow and eye makeup fallout with this popular makeup trend! Use some loose powder and your foundation sponge to bake your face and achieve a flawless complexion.
o Blot Your Skin – If your face makeup is looking shiny towards the end of the day, all you need to do is gently dab a dry makeup blender on the greasy spots of your face to absorb all the excess oil from your skin.
o Refresh Your Makeup – On days when your makeup needs a little pick-me-up as the evening rolls around, give your skin a good mist of setting spray and dab the makeup blending sponge all over your face to refresh your makeup and keep it in place for longer.
o Use It With Skincare Products – With the right face sponge, makeup is not all you can have fun with. Use the makeup blending sponge to apply your moisturizer, serums, and eye cream and treat your skin to a relaxing sensation before bed.
o Clean Your Makeup Blender – Every time you use the blender, makeup accumulates in the sponge, making it a breeding ground for bacteria! Dirty beauty blenders will not only wreak havoc on your skin but can also impact future makeup applications. When your foundation sponge is filled with old makeup products, it will not pick up new products, making the application streaky and patchy. Wash your beauty sponges thoroughly with water after every use and wash it with an oil-based cleanser and face wash once every week.
Keep your makeup kit fresh and effective by including clean tools like a well-maintained makeup blender, along with essentials like foundation, concealer, and setting spray. Regularly washing your sponge ensures smooth application and protects your skin from breakouts. A clean kit not only improves makeup results but also extends the life of your favorite products.